
24mm Threaded Option
This option is three parts:
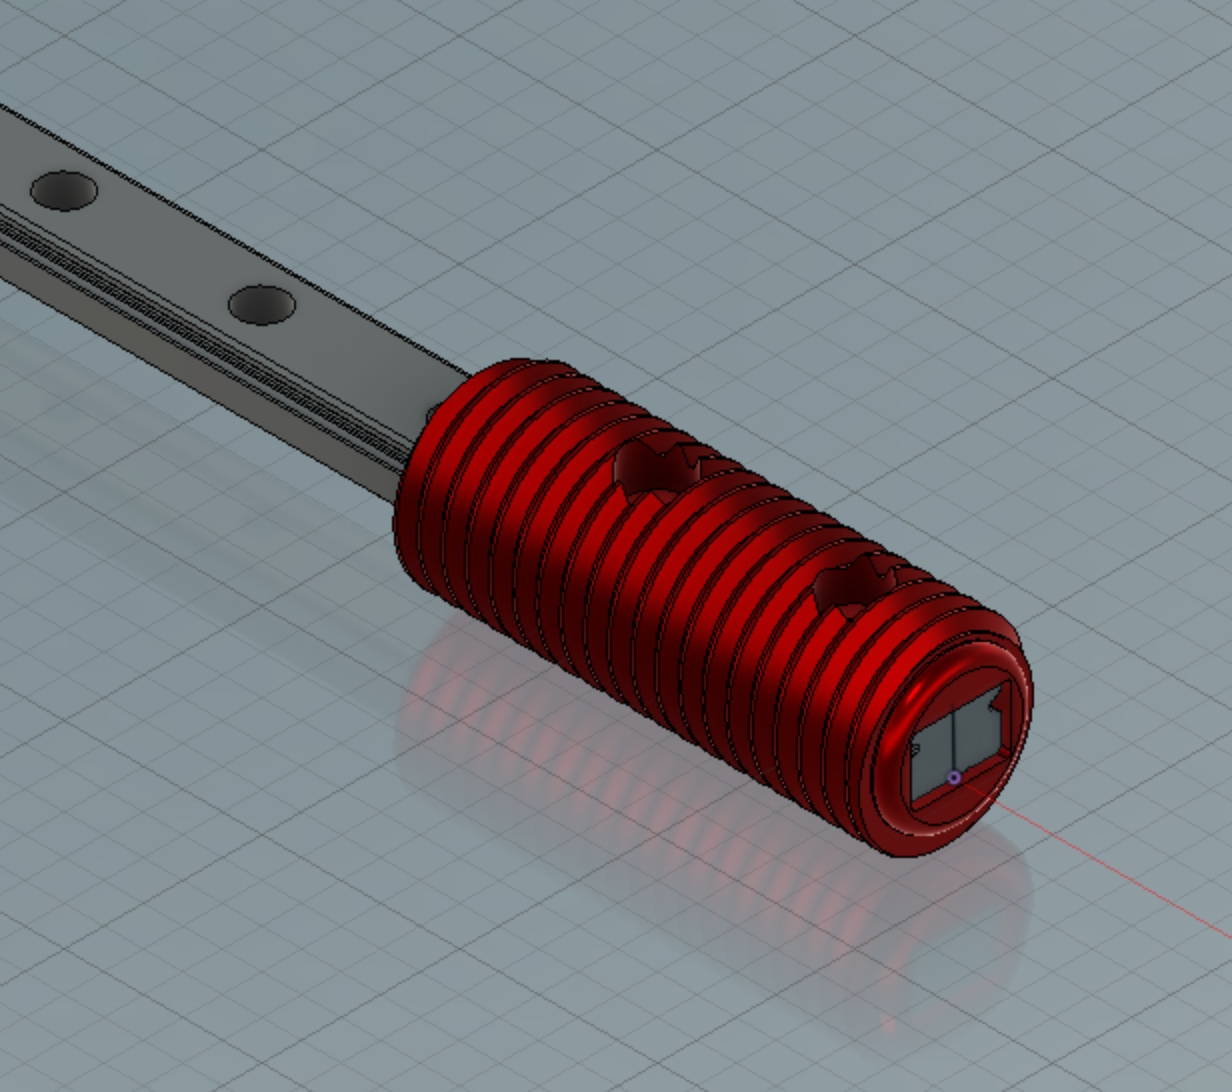
Rail adapter ( 24mm linear rail adapter.step )
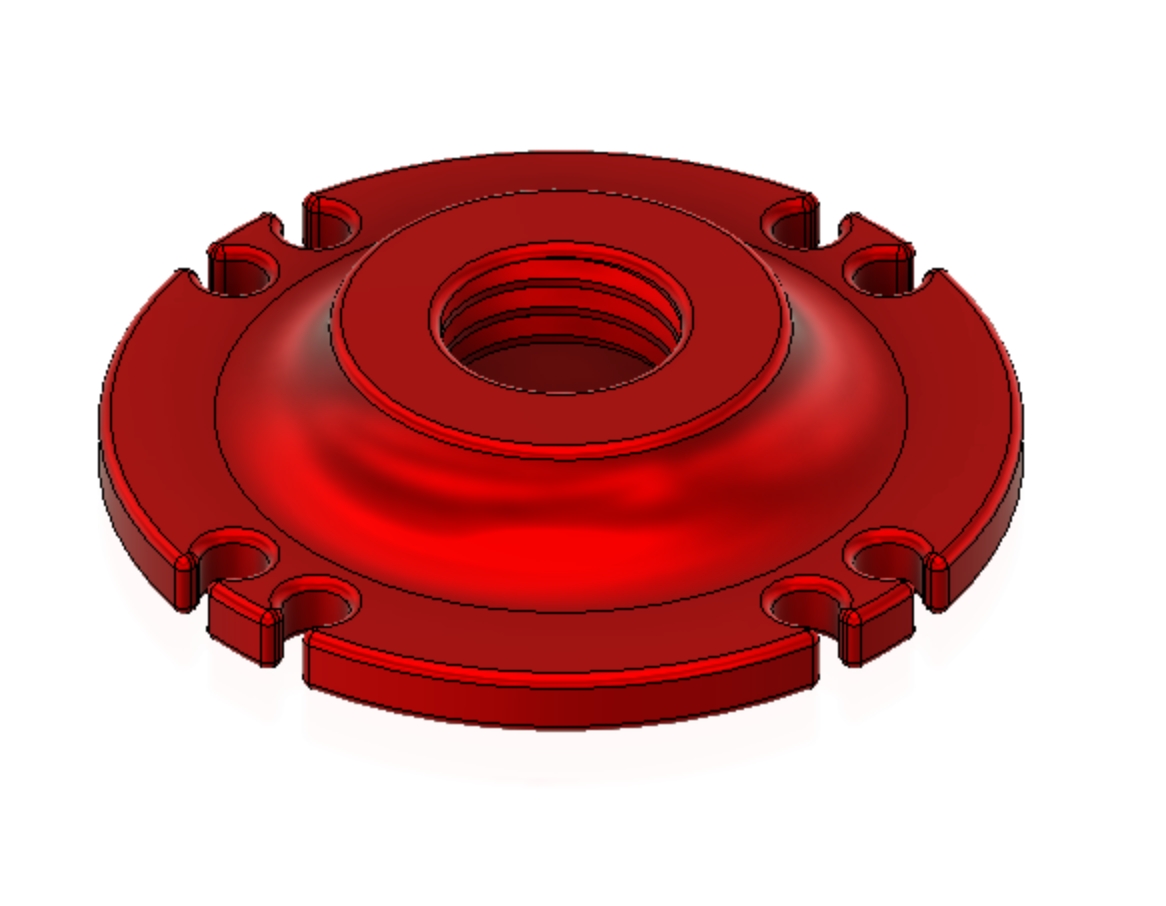
Jam Nut ( in the DoubleDouble file )
Your choice of end effector
DoubleDouble ( double double to the moon 24mm v1.step )
OSSM Tie down platten ( OSSM Tie Down and Suction Plate v2.step )
Printing of the parts
Warning! I've had accuracy issues with my printer while developing this so I am unsure if fitting issues are due to that or the tolerances of the drawn items.
Please follow these steps for tuning in your build:
Print the rail adapter and fit it to your linear rail.
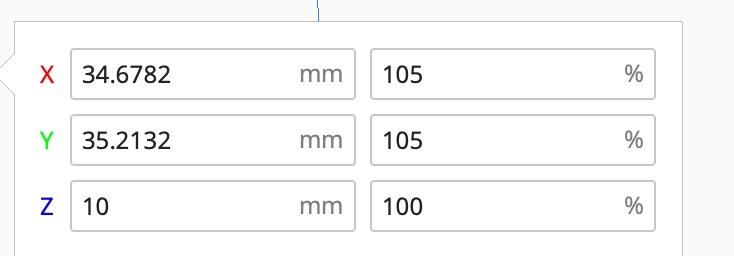
Print the Jam nut - I have had the most success printing it with X&Y being increased to 105% and Z staying at 100% scaling.
Test fit Jam Nut
Use same print settings for DoubleDouble
Installation on the rail
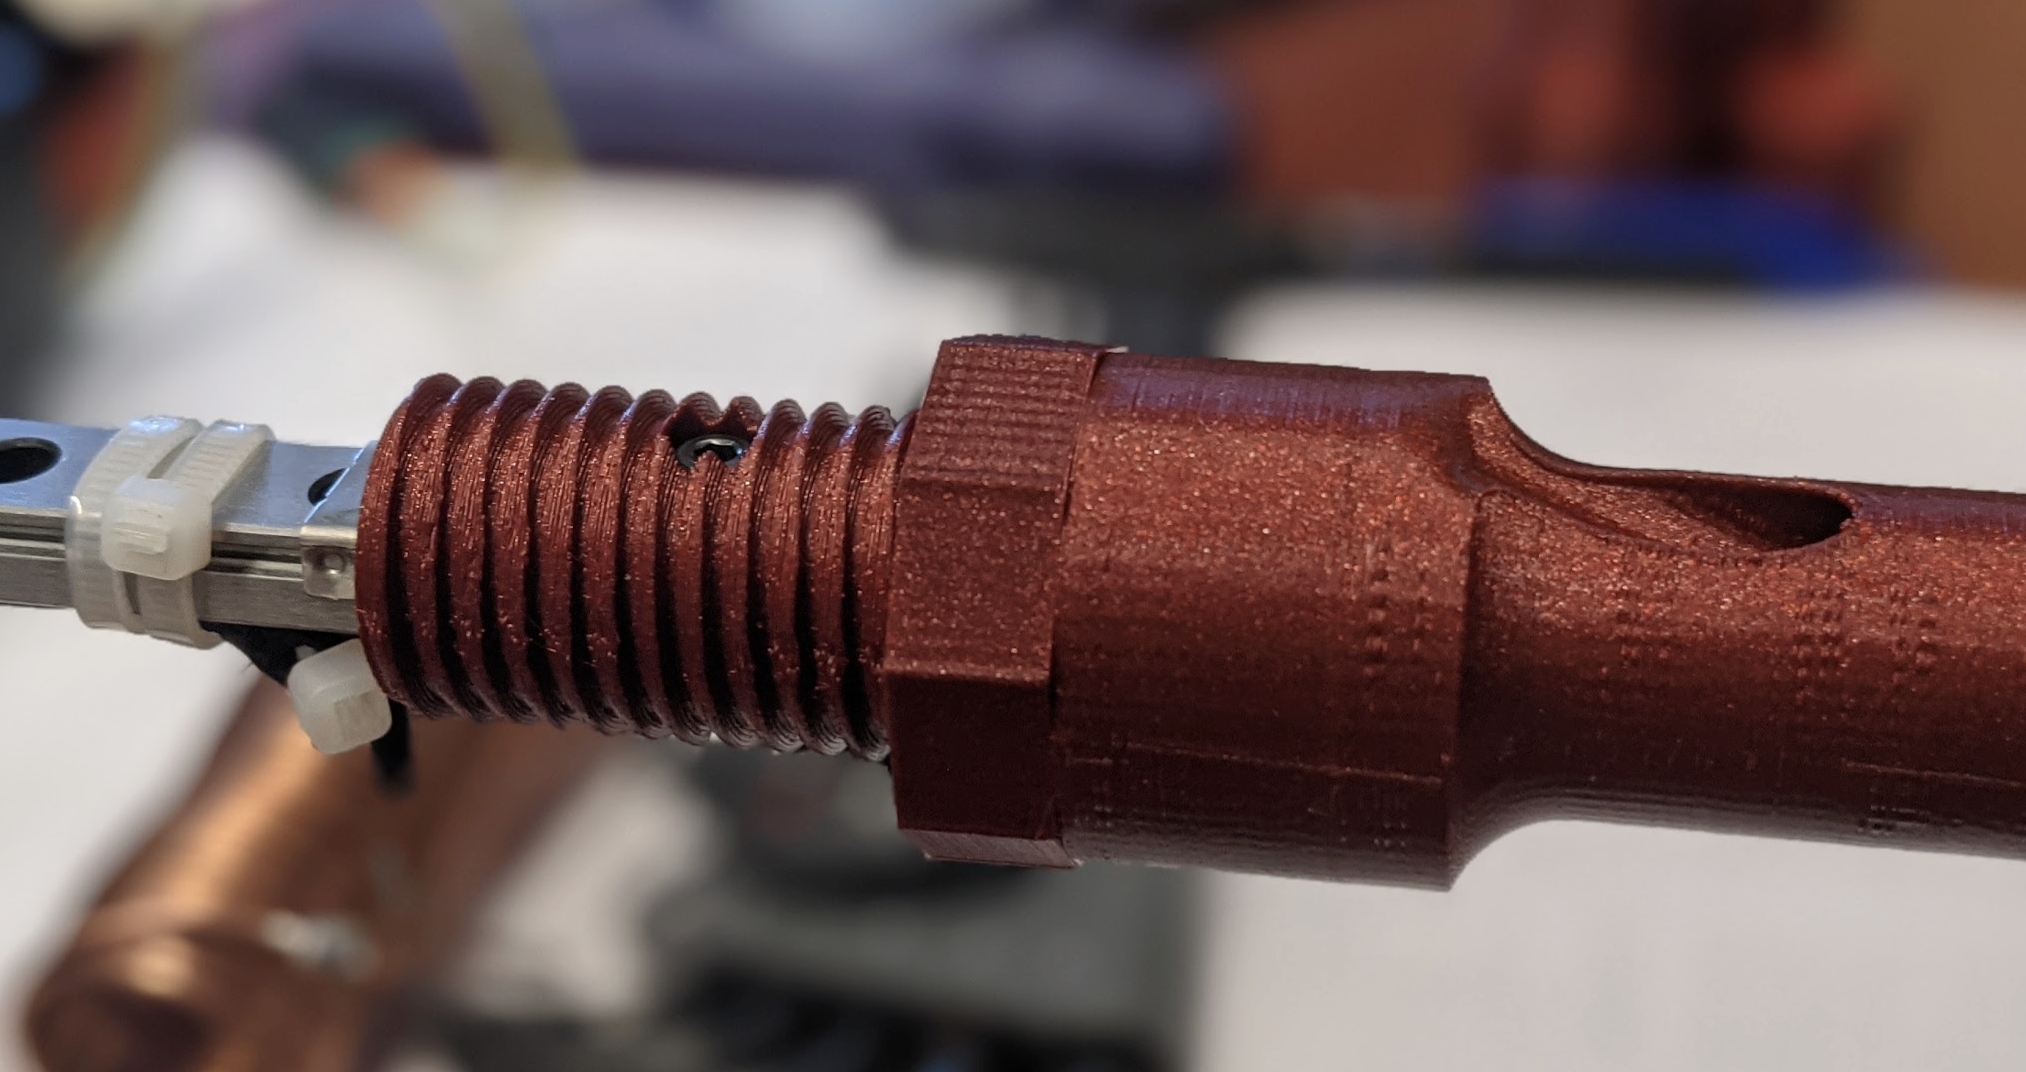
Use (2) M3x16mm cap head screws + nuts to attach the theaded adapter to the shaft of your OSSM.
DoubleDouble and Jam Nut Install
Thread on Jam nut to about halfway
Thread on DoubleDouble until it bottoms out (gently, no need to crank down)
optional Back off the DoubleDouble if orientation of the pass-thru matters for your application
Thread the Jam nut to the back of the DoubleDouble hand tight only keep going until hand tight
ENJOY
ÖSSM Plätten
Installs the same as the DoubleDouble
Tie Down and Suction plate - Mr Nevermore
Was designed after finding rope to be unsatisfactory because it is impossible to clean and wasteful to keep throwing it out after each use. This desing has adopted the use of latex tubing (the kind you use in a sling shot) and cord locks for fastening the toy to the tie down. With deeper grooves and the embedded holes it allows you to tie down a variety of toys without issue and they really stay in place. As a bonus cleaning is simple and worry free.
Last updated